
- Sophia@polyflute.com
- +86 15162372874
- Mon - Sat 8:00-20:00
Coroplast boxes have become a popular packaging solution across industries for their durability, lightweight nature, and cost-effectiveness. As a professional coroplast box manufacturer, we often get asked one common question: how to make coroplast boxes? In this comprehensive guide, we will walk you through everything from materials to methods, helping businesses and DIYers alike understand how to make coroplast boxes properly.
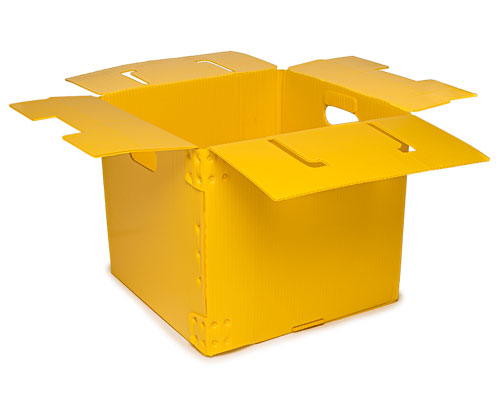
Coroplast is a brand name for corrugated plastic, which is typically made from polypropylene. It resembles corrugated cardboard in structure but offers greater resilience, water resistance, and reusability.
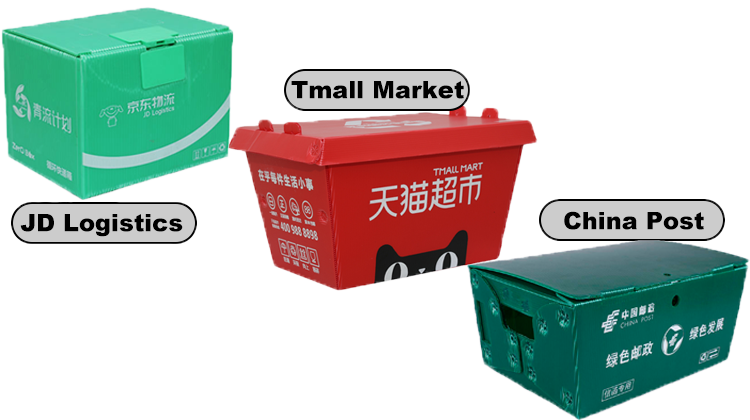
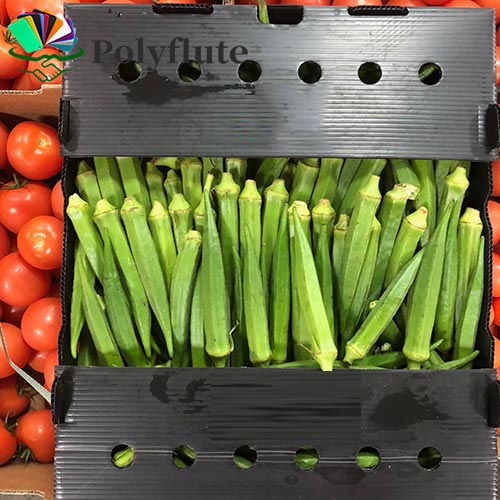
Coroplast boxes are particularly popular in:
But how to make coroplast boxes that are both functional and durable? Let’s dive deeper into the process.
Before learning how to make coroplast boxes, it’s essential to understand the advantages of using this material:
These benefits make coroplast an ideal candidate for box manufacturing.
To make coroplast boxes, you’ll need specific materials and tools, whether you’re producing them manually or through automated lines.
Investing in precision tools ensures consistency when you make coroplast boxes at scale.
Before cutting your coroplast sheet, it’s crucial to carefully plan the design of your box. A well-thought-out design directly affects the durability, functionality, and cost-efficiency of the final product. When you make coroplast boxes, skipping the planning phase often results in poor fit, material wastage, or structural issues. Below are key parameters that will influence your success:
For high-volume production, CAD tools or packaging design software can help you model 2D dielines and simulate the folding process in 3D. These tools reduce trial-and-error prototyping and maximize precision. Moreover, pre-designed templates help maintain consistency across batch production.
| Design Element | Options / Considerations | Notes |
|---|---|---|
| Box Dimensions | Custom L × W × H based on product size | Include clearance if needed |
| Flap Type | Standard / Self-locking / Interlocking | Depends on required strength and reuse |
| Material Thickness | 3mm / 4mm / 5mm | Thicker sheets are stronger but heavier |
| Reinforcement | Bottom panel / Side folds / Corner braces | For heavy or fragile items |
| Closure Type | Velcro / Tabs / Zip tie holes / Ultrasonic sealing | Choose based on frequency of reuse |
| Handle Type | Die-cut / Plastic strap / No handle | Based on carrying frequency |
| Surface Finish | Plain / Anti-static / UV printed | Depends on application and branding |
| Software Used | AutoCAD / Adobe Illustrator / Packaging design software | For dielines and batch layout optimization |
Creating custom coroplast boxes involves a sequence of precise steps. Whether you’re manufacturing in bulk or creating a prototype, understanding each phase of the process is critical for ensuring durability, structural integrity, and usability. Below is a comprehensive step-by-step breakdown of how to make coroplast boxes effectively.
Begin by laying your coroplast sheet flat on a clean, stable cutting surface—ideally a large cutting mat. This helps protect both your workspace and the material itself from accidental damage.
Using a T-square and a measuring tape, determine the dimensions of your box: length, width, and height. Don’t forget to consider additional elements like flaps, lid extensions, folding tabs, and any structural reinforcements. It’s best to sketch your box design on paper first or use CAD software if you’re working on a mass production line.
Once your layout is finalized, use a permanent marker or fine-tip pen to outline each part of the box directly onto the sheet. Ensure the lines are clear and precise—this will serve as your cutting guide. Always account for the material’s corrugated grain direction; folding against the flutes is much easier and prevents cracks. Proper measuring and marking at this stage ensures high-quality results when you make coroplast boxes.
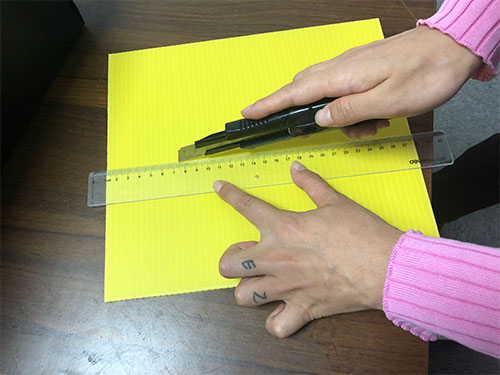
After marking, the next step is to cut the sheet along the traced lines. This is where precision becomes essential. Use a sharp utility knife or a rotary cutter for manual production. For industrial settings, a CNC cutting machine or die-cutting press is more efficient and ensures consistency across large batches.
Cut slowly and apply consistent pressure to avoid tearing or ragged edges. If you’re using a utility knife, ensure the blade is sharp—dull blades can leave uneven edges or burrs that impact box aesthetics and assembly. Always follow safety precautions; wear cut-resistant gloves if needed.
Take care when cutting small flaps or intricate shapes like handle holes or interlocking tabs. Clean cuts result in easier folding and stronger bonding in later stages. When you make coroplast boxes, poor cutting can compromise both appearance and structural integrity.
Scoring is a crucial part of box making, especially with rigid materials like coroplast. Instead of folding the sheet directly—which may cause cracking—you need to lightly score the fold lines. This means creating a shallow indentation that weakens the material just enough to allow for a clean, controlled bend.
Use a scoring wheel, bone folder, or dull side of a utility knife. Always score parallel to the sheet’s flute direction for smoother bends. Be gentle—never slice through the plastic. The goal is to create a visible crease without penetrating the material. You may need to run the scoring tool over the line several times to achieve the desired depth.
A good scoring job reduces stress on the material during folding and enhances the final appearance of your box. It also ensures uniformity, which is critical if you’re producing dozens or hundreds of units. In the process to make coroplast boxes, scoring might seem minor, but it significantly influences functionality and lifespan.
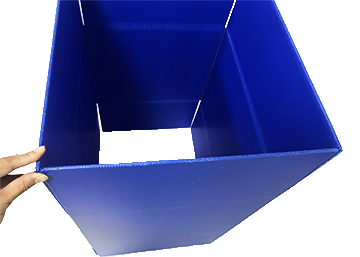
Once the coroplast sheet has been cut and scored, begin folding along the crease lines. Bend slowly and firmly along each scored section, ensuring sharp, clean folds. Start with the main body panels, then move to the flaps and locking tabs.

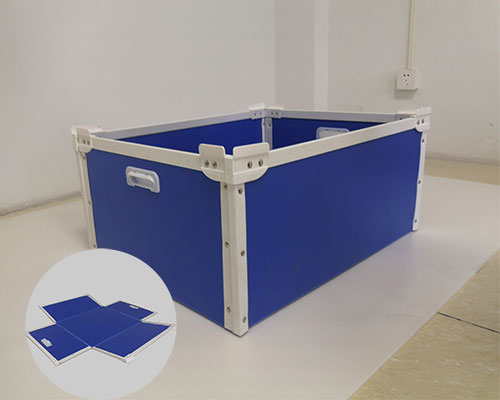
Assembly involves bringing the side panels together to form the box shape. Depending on your design, you might be using self-locking flaps, interlocking tabs, or simply securing the edges with adhesive or rivets. For more permanent boxes, ultrasonic plastic welding is often used, especially for heavy-duty applications like automotive parts storage or industrial packaging.
To strengthen the box, you can insert reinforcing strips or corner braces made from thicker plastic or corrugated board. Some manufacturers also use folded-in flaps with double-wall construction for added rigidity. This is particularly useful for boxes that need to support heavy or sharp-edged contents. Remember, every fold and joint plays a role in how well you make coroplast boxes for long-term use.
Now that the box is taking shape, it’s time to lock everything in place. For this step, hot glue guns, double-sided industrial tapes, or plastic rivets are commonly used depending on the application.
If you’re using adhesives, make sure the surfaces are clean and dry for maximum bonding strength. Apply a consistent bead of hot glue or a strip of high-strength tape along the inside edges of the flaps. Press the joints together and hold firmly for a few seconds to allow the bond to form.
For long-term or heavy-duty use, rivets or welds are a more reliable solution. Ultrasonic welding fuses the plastic together without adhesives, creating a strong, tamper-resistant seal. In some production settings, heat sealing is also applied using a heat gun for extra hold.
Properly secured edges contribute to the box’s overall strength, allowing it to carry heavy loads, stack neatly, or withstand repeated use. If you’re planning to make coroplast boxes for industrial or logistical use, this step is non-negotiable.
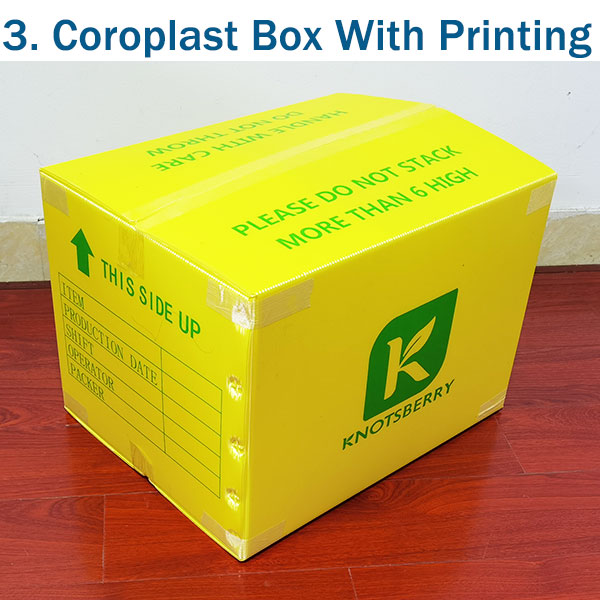
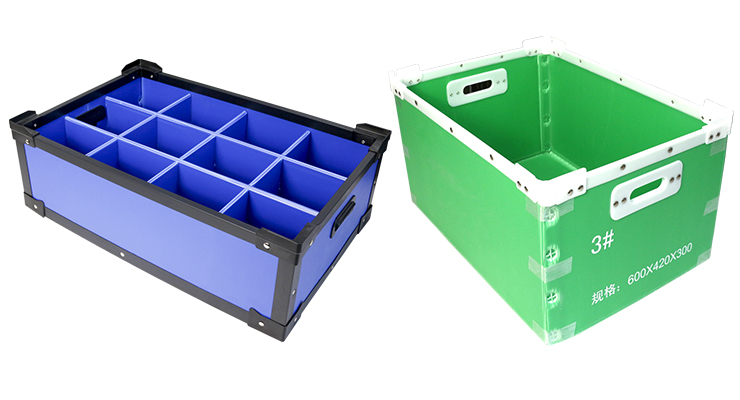
This final step transforms your basic box into a product-specific solution. Based on your needs, you can now add practical or aesthetic features.
If branding is essential, you can also apply UV printing, stickers, or silk-screened logos at this stage. For high-volume projects, it’s best to incorporate die-cutting and printing earlier in the production workflow.
Once these features are in place, your coroplast box is ready to be shipped, stacked, or filled with goods. As you continue to make coroplast boxes, you’ll find these enhancements not only add value but also improve user experience and product safety.
Even experienced manufacturers can make mistakes. Here’s what to watch out for:
Careful planning helps minimize errors and improves the quality of each coroplast box you make.
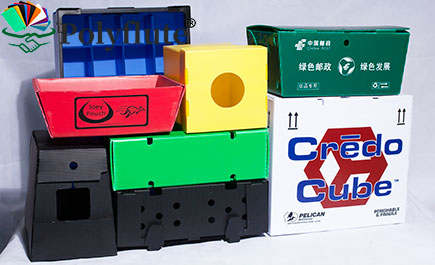
Whether you’re branding packaging or enhancing functionality, here’s how to customize your coroplast boxes:
Custom options help manufacturers add value when they make coroplast boxes for clients in competitive markets.
Understanding how to make coroplast boxes is particularly useful if you supply sectors like:
Each industry may require different features like waterproofing, chemical resistance, or stackable design.
One of the most significant benefits of coroplast is its eco-friendliness.
By educating clients on recycling, you contribute to the circular economy even as you make coroplast boxes for industrial use.
The quality of raw materials directly affects the durability and finish of your boxes. Look for:
As a professional coroplast box manufacturer, we offer bulk coroplast sheets and custom box manufacturing services, ensuring precision and cost-efficiency.
Q1: Can I make coroplast boxes at home?
Yes, you can make coroplast boxes at home using basic tools such as a utility knife, ruler, and adhesive like glue or double-sided tape. This method is suitable for small batches or personal projects.
However, for large-scale production, we recommend working with a professional manufacturer. The overall cost will be significantly lower compared to hand-making each box. If you are interested, feel free to contact Polyflute for reliable manufacturing solutions.
Q2: Is ultrasonic welding better than gluing?
Ultrasonic welding offers stronger bonds and is ideal for industrial-scale box production.
Q3: What is the best thickness for heavy-duty boxes?
4mm–5mm is recommended for moderate to heavy-duty applications.
Q4: Can I print directly on coroplast boxes?
Yes. UV flatbed printing or screen printing works well.
Q5: Are coroplast boxes waterproof?
Yes. They are water-resistant, suitable for wet environments.
Learning how to make coroplast boxes empowers businesses with a sustainable, customizable, and economical packaging solution. Whether you’re a startup or an established brand, the ability to make coroplast boxes tailored to your product and industry needs gives you a competitive edge.
As a trusted coroplast box manufacturer, we, Polyflute, offer both standard and custom solutions to match your specific packaging requirements. Feel free to reach out to us for bulk inquiries or technical consultations.